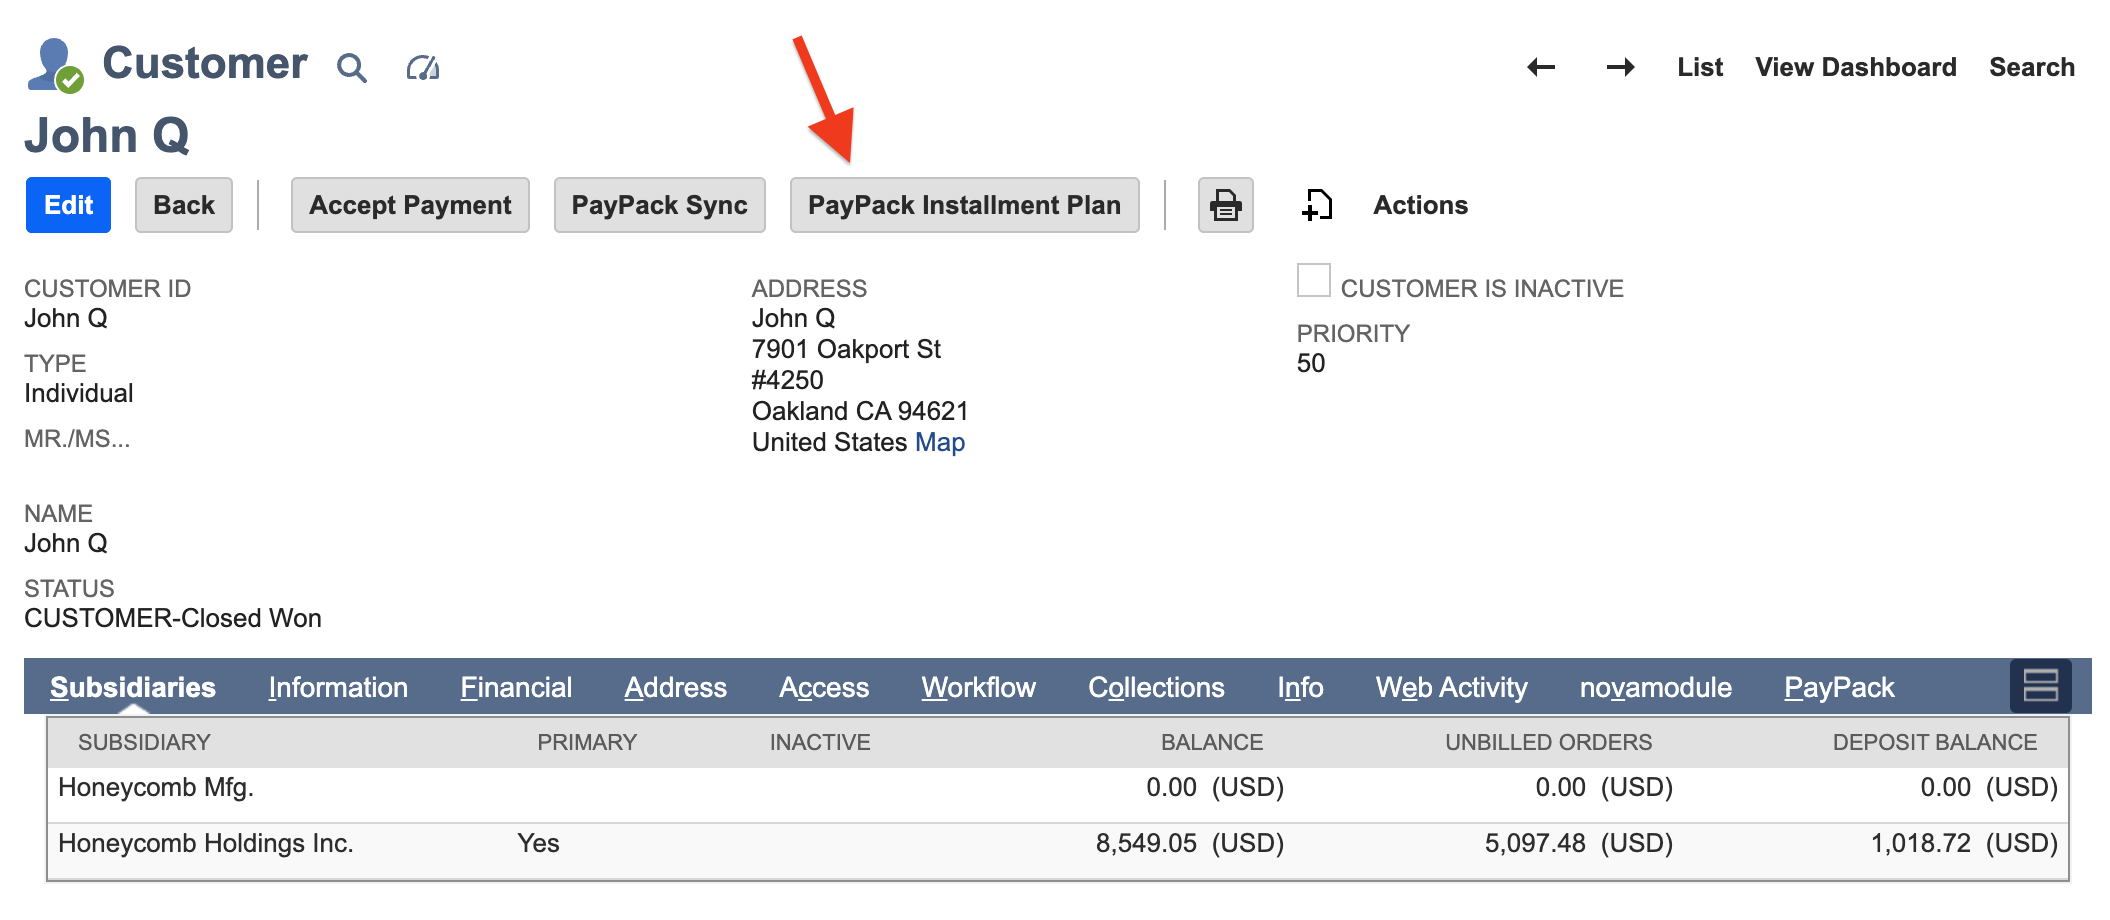
Configuration
Navigate to PayPack → Setup → Configuration.
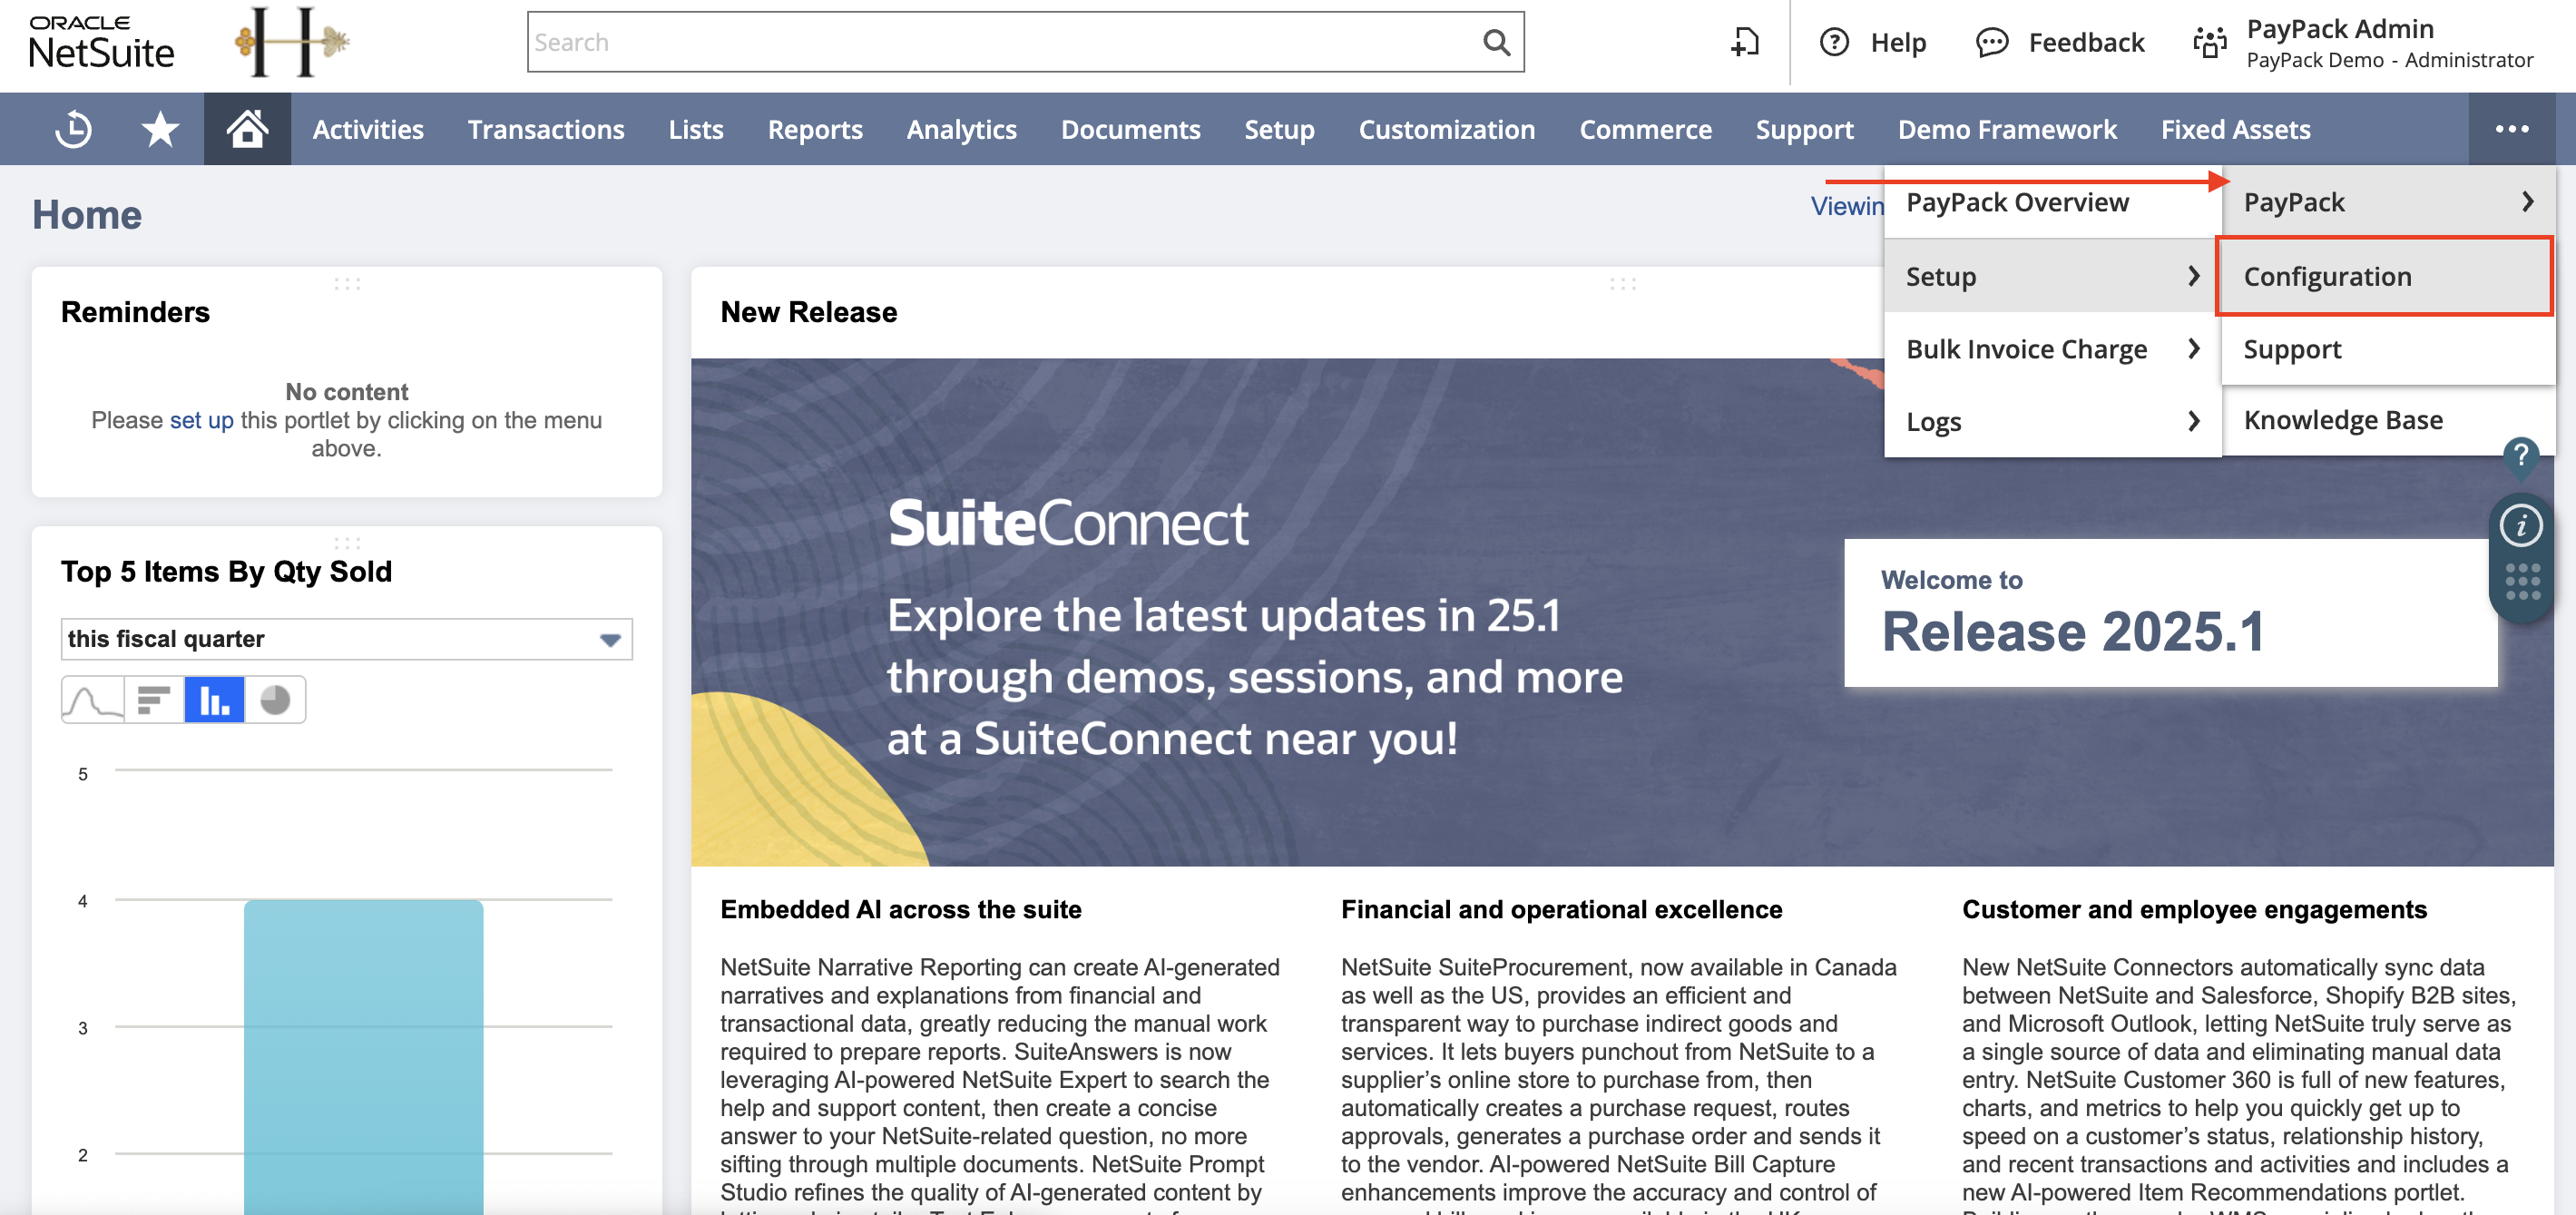
Saved Search
Go to Schedule subtab → Select saved search under STRIPE INSTALLMENT PLAN PAYMENTS SAVED SEARCH.
- Saved Search for Single Account: PayPack Stripe Installment Plan Map Reduce [Main]
- Saved Search for Multi Account: PayPack Stripe Installment Plan Multi Account Map Reduce [Main]

Map/Reduce Script
After successfully adding all the saved searches to the Configuration - PayPack screen, navigate to create and schedule the MapReduce script. To do this, follow these steps:
Click Customization → Scripting → Scripts.
Filter the scripts to display only MapReduce scripts. You can achieve this by clicking Filters → Type and selecting Map/Reduce.
In the search bar, enter PayPack Stripe Installment Plan MR and click the View button.

Once you've accessed the script details page, you can deploy the script by clicking the Deploy Script button.
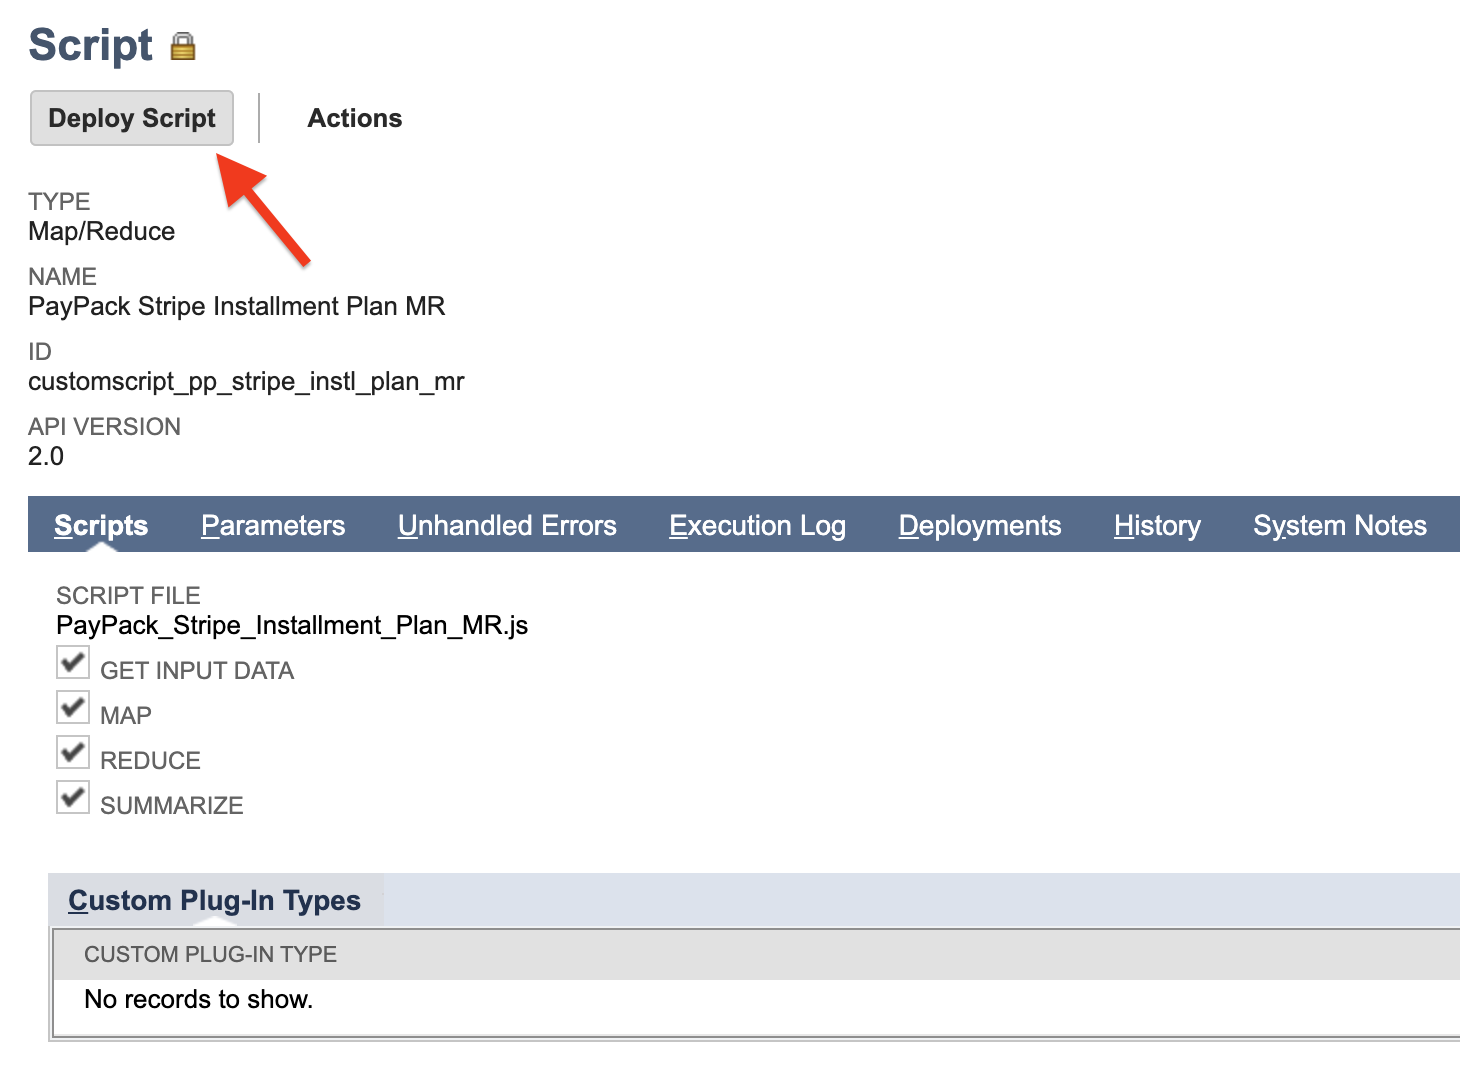
Clicking "Deploy Script" will take you to the Script Deployment page. This page allows you to schedule the script execution based on your requirements. You will find a parameter named "Stripe Account Id." This parameter requires the internal ID of the relevant "PayPack Stripe Accounts Configuration" custom record in NetSuite. By specifying the correct ID, you can ensure the script deployment runs for the intended Stripe account.
Navigate to Customization → Scripting → Script Deployments and select PayPack Stripe Installment Plan MR Script Deployment.
- Settings/Configuration for the first run:
- Click on edit on this script deployment PayPack Stripe Installment Plan MR.
- Users having single Stripe account can ignore entering the Stripe Account ID parameter.
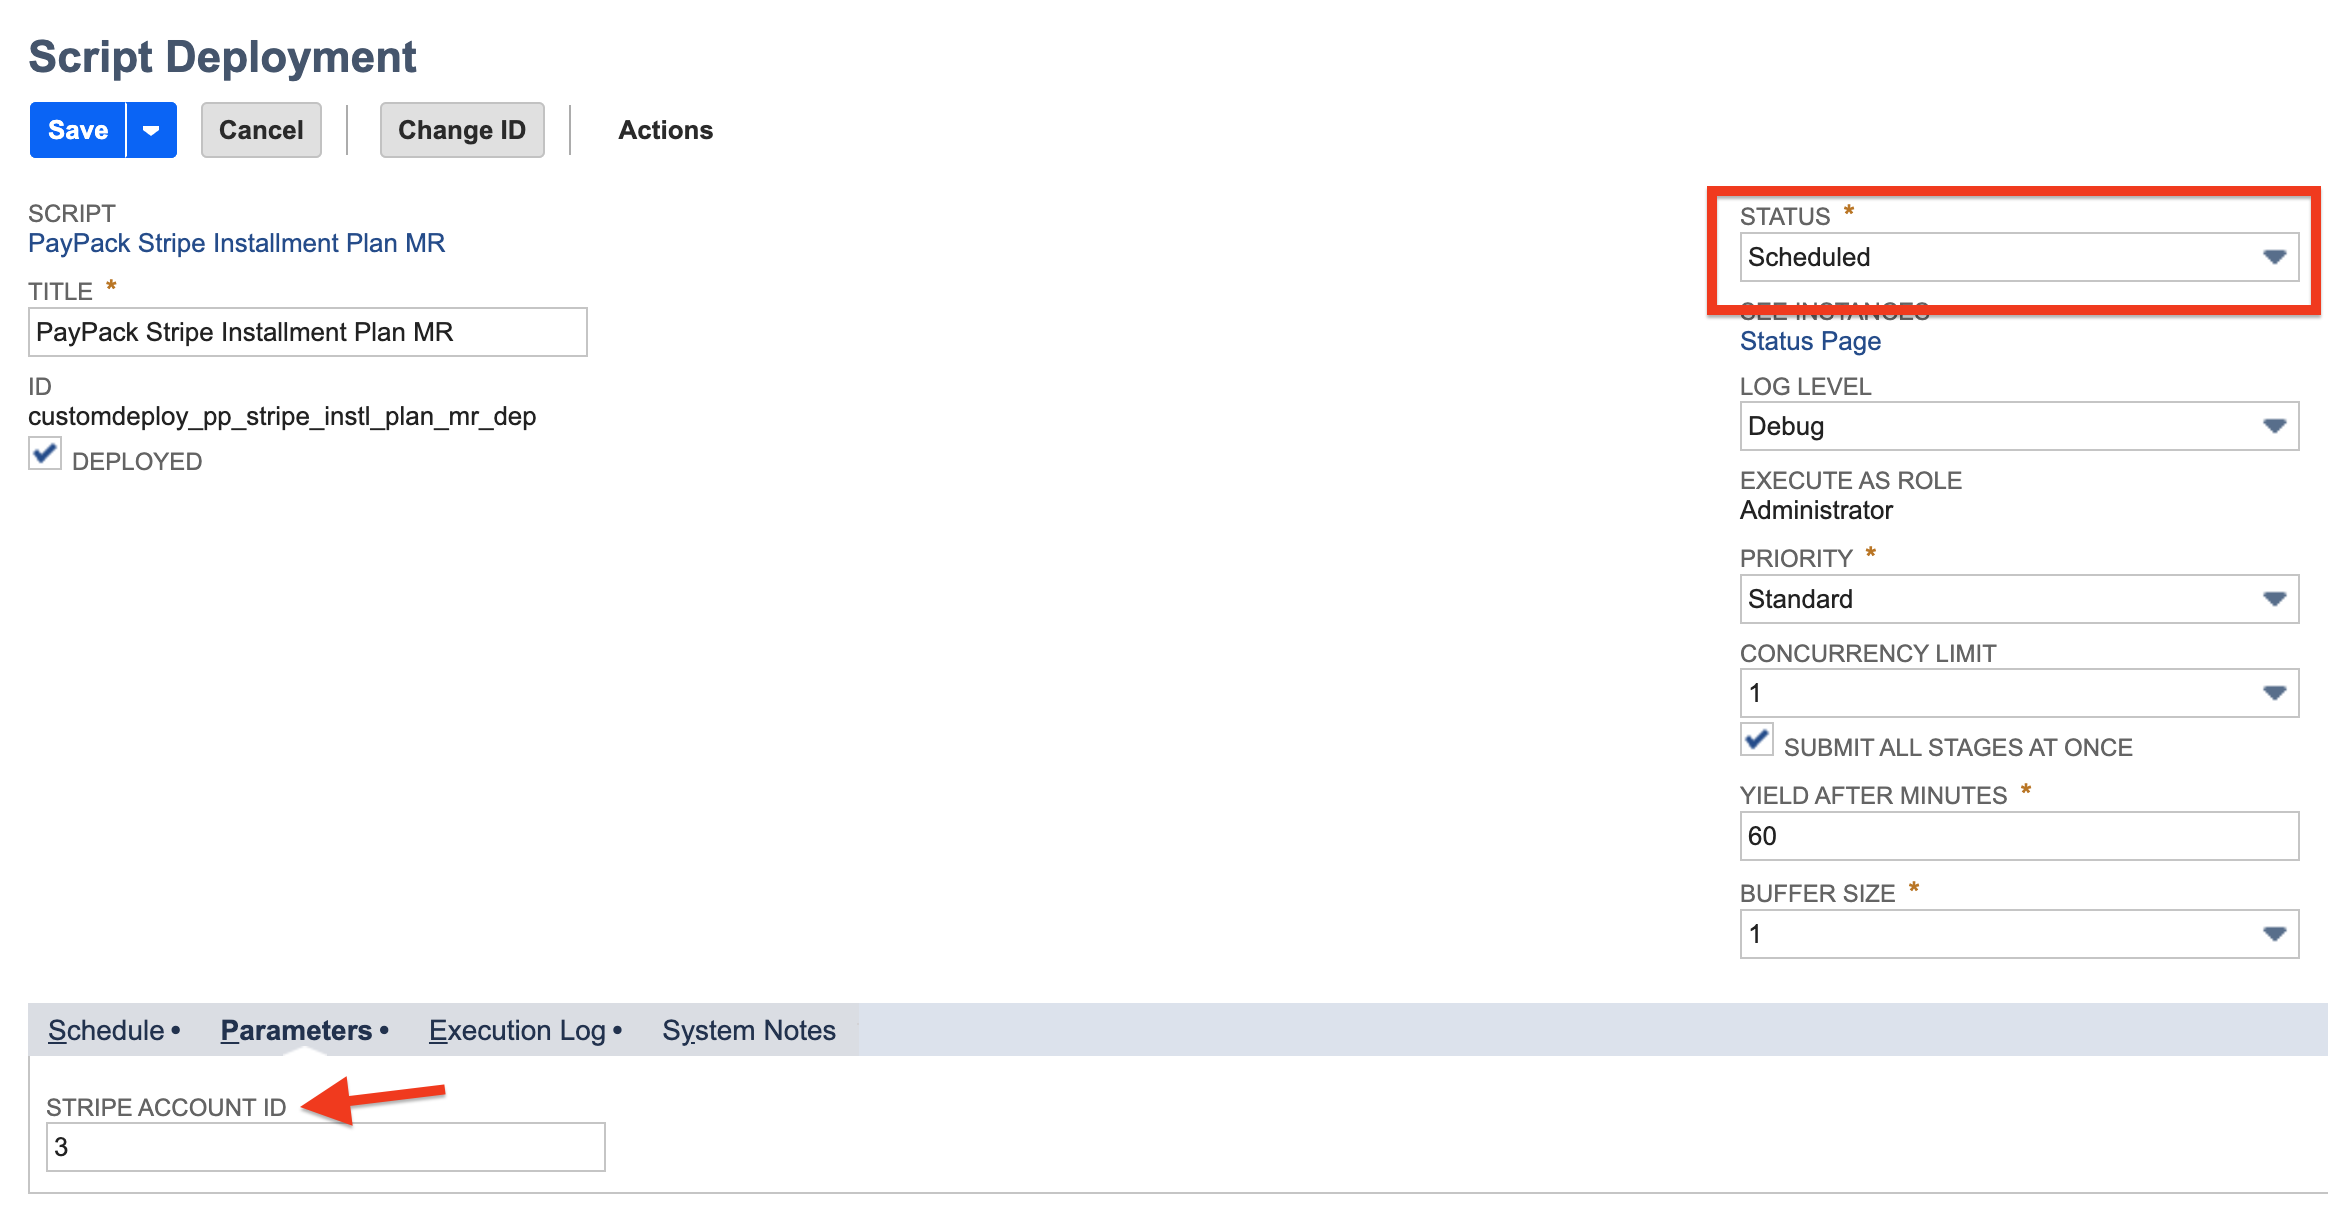
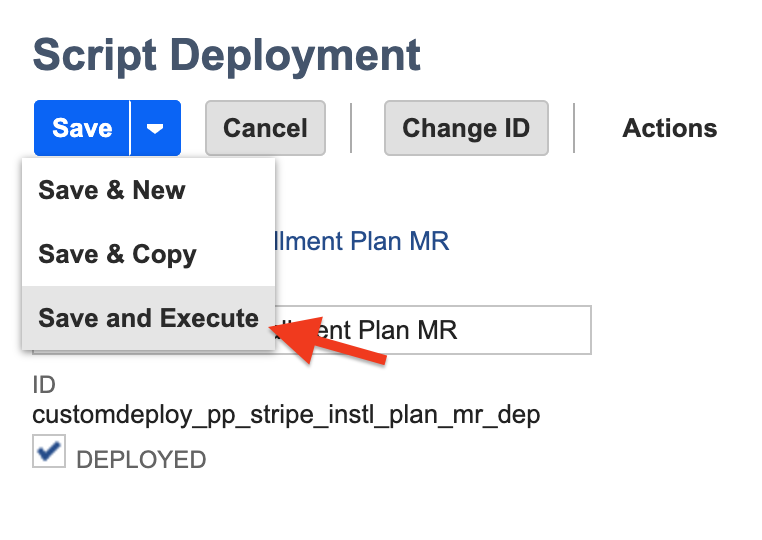
- Hover on the save button and click on “Save & Execute” (optional).
- Setting/Configuration for the next runs:
- Click on edit on this script deployment PayPack Stripe Installment Plan MR.
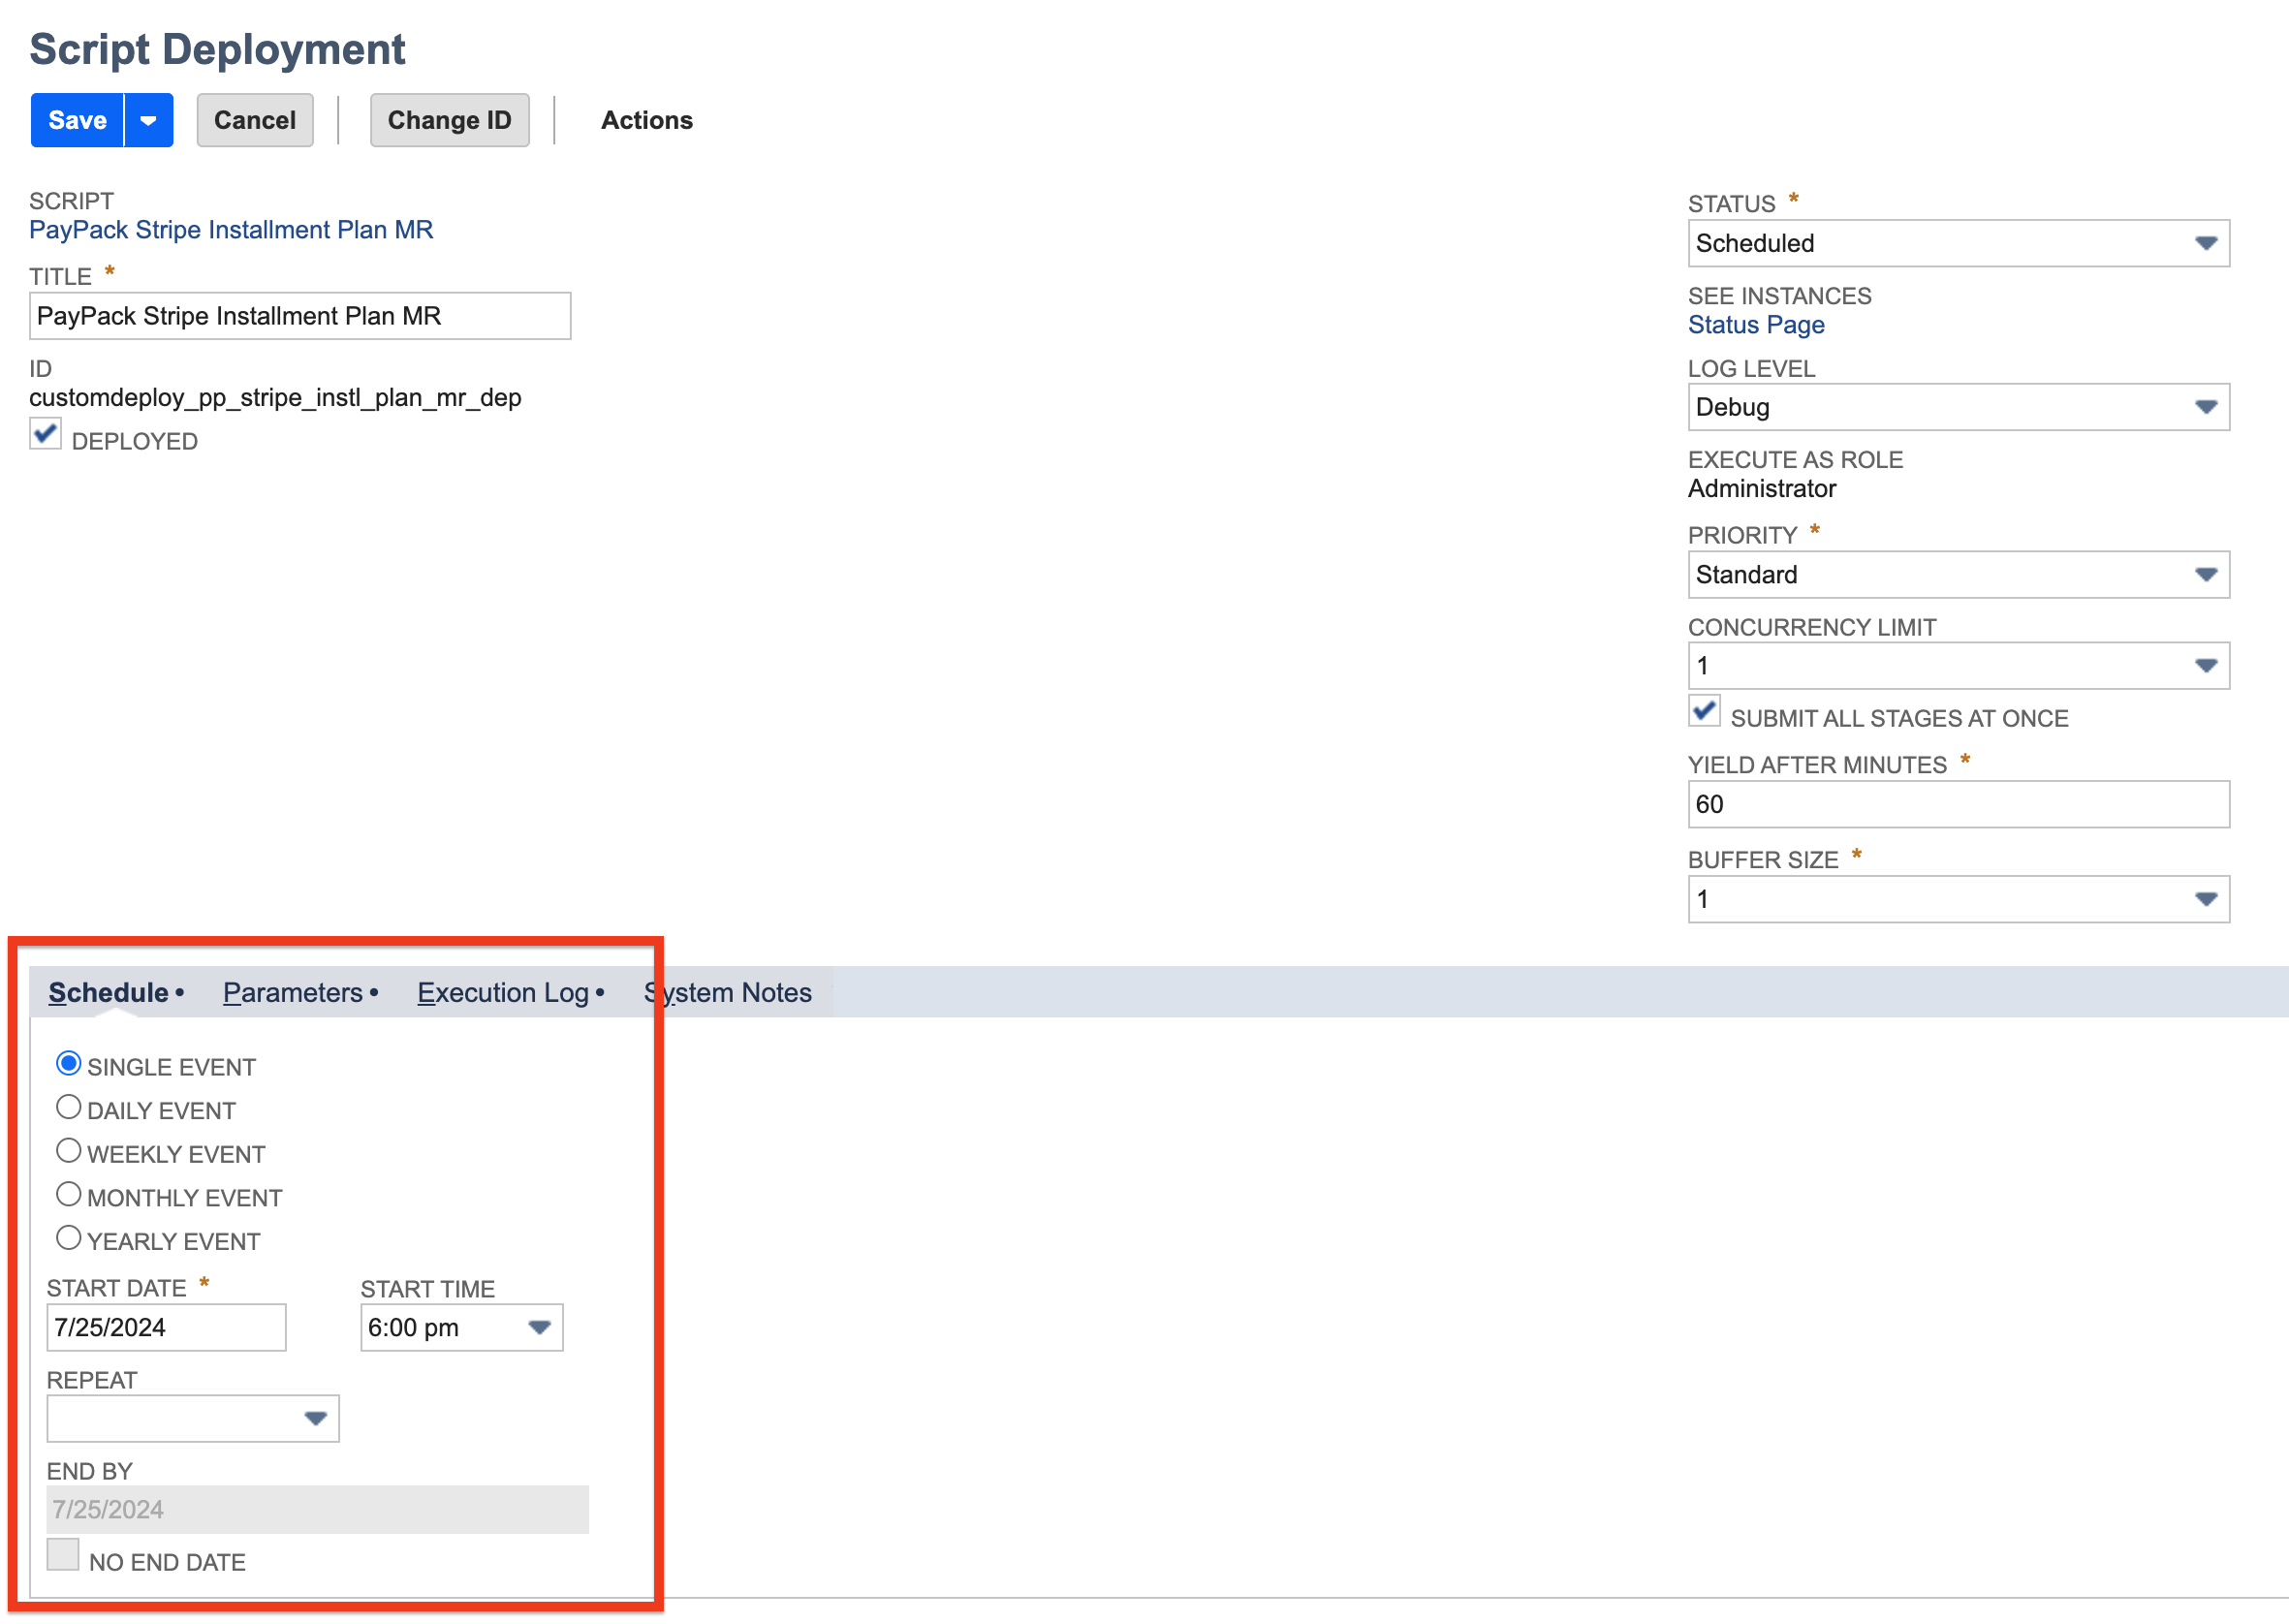
- Navigate to the Schedule subtab and select the type of event.
- Enter the Start Date for the event.
- Select how often the event should be scheduled.
- Enter the End Date or Check No End Date checkbox.
- Click on Save.
- Settings/Configuration for the first run:
